Overview of Honeywell TH5220D1029
The Honeywell TH5220D1029 manual PDF offers comprehensive guidance for installation, configuration, and troubleshooting. It highlights key features, step-by-step setup, and maintenance tips, ensuring users maximize efficiency and reliability in their HVAC systems. and view schematics for advanced troubleshooting
Device Specifications and Key Features
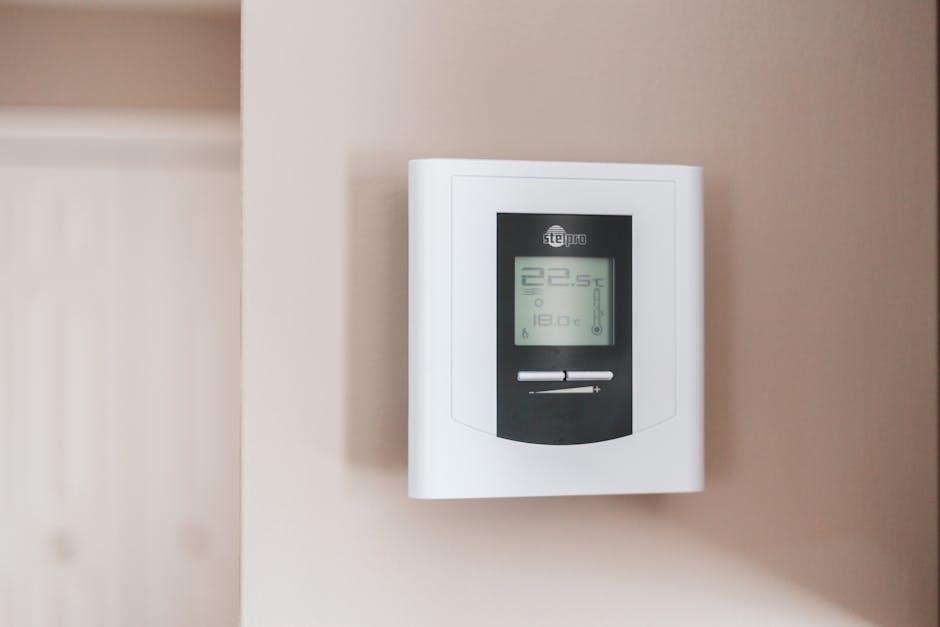
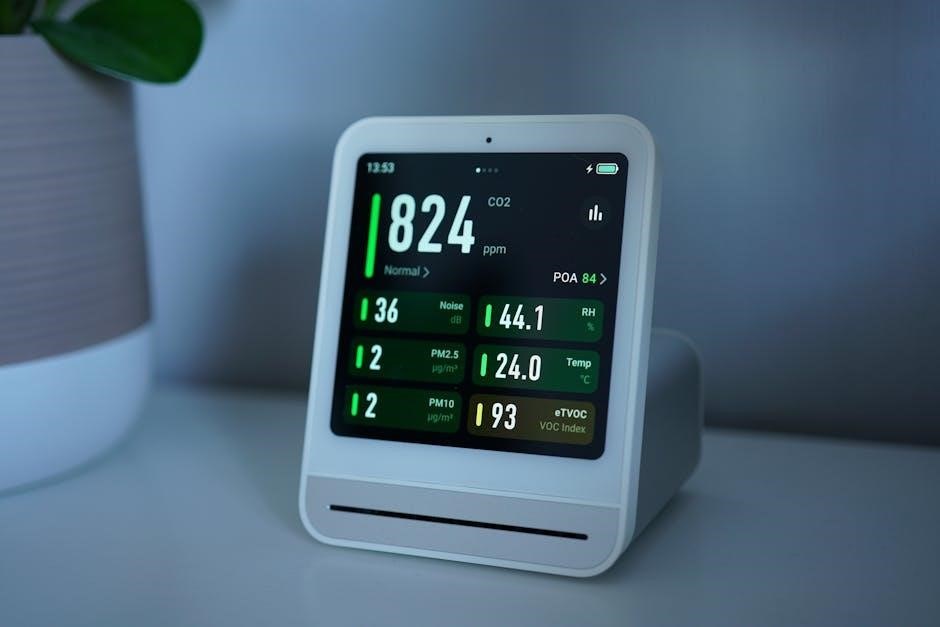
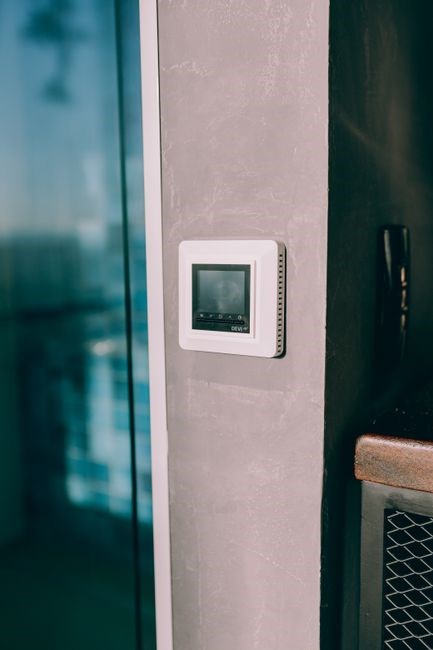
The Honeywell TH5220D1029 thermostat is engineered for modern homes, offering a sleek 2.7‑inch color display, intuitive touch controls, and Wi‑Fi connectivity for remote management via the Honeywell Home app. It supports dual‑zone HVAC systems, allowing independent temperature control for living and sleeping areas. The unit operates on a 24‑V DC power supply and includes a 12‑hour battery backup to maintain settings during power outages.
- High‑resolution 240×240 pixel LCD for clear visibility.
- Programmable 24‑hour schedule with 8‑step temperature increments.
- Smart thermostat mode with auto‑learning and energy‑saving algorithms.
- Bluetooth Low Energy (BLE) for quick pairing with smartphones.
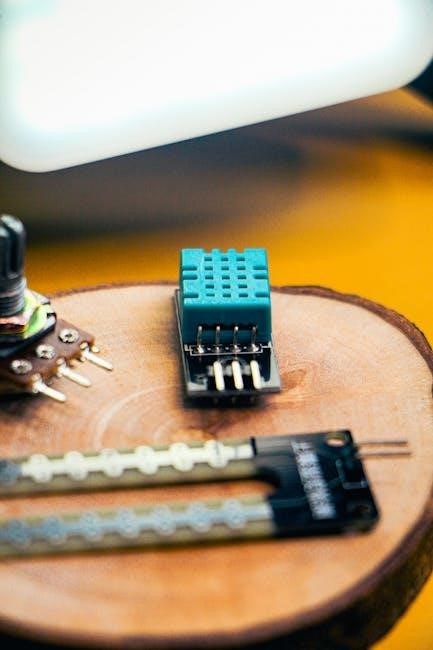
- Built‑in humidity sensor for accurate climate monitoring.
- Supports Z‑Wave, Zigbee, and Matter protocols via optional gateway.
- Energy usage reports and alerts sent to the companion app.
- Remote firmware updates delivered over the air (OTA).
Designed for easy installation, the TH5220D1029 includes a 5‑pin connector for wiring to standard HVAC control panels, a 3‑pin power connector, and a mounting bracket that fits 1‑inch wall spaces. The thermostat’s firmware is modular, allowing future feature expansions without hardware changes.
Users can integrate the thermostat with smart home ecosystems, enabling voice control via Amazon Alexa, Google Assistant, or Apple HomeKit. The device supports scheduling set to eco‑mode to reduce energy consumption.
Obtaining the Manual PDF
The official Honeywell website hosts the TH5220D1029 manual PDF. Navigate to the support section, enter the model number, and download the PDF. Alternatively, trusted third‑party repositories offer the same file, but verify authenticity to avoid corrupted versions. Download PDF and save for reference now use !
Official Sources and Trusted Repositories
To obtain the Honeywell TH5220D1029 manual PDF, begin by visiting Honeywell’s official support portal. Navigate to the “Products” section, select “Thermostats,” and enter the model number TH5220D1029 in the search field. The portal will display a list of downloadable documents; click the PDF icon to download the latest version. Ensure the file size matches the expected 1.2 MB to confirm authenticity.
For users who prefer third‑party repositories, reputable sites such as ManualsLib, ManualsOnline, and Tech‑Docs offer the TH5220D1029 manual. These platforms aggregate manufacturer PDFs and provide user‑generated reviews. When downloading from these sources, verify the file’s checksum or compare the title and author fields against the official Honeywell listing. Avoid sites that host multiple file formats (e.g., ZIP, RAR) without clear documentation, as they may contain malware.
Once downloaded, store the PDF in a secure location and consider printing a hard copy for quick reference during installation. If you encounter discrepancies between the manual and your device, consult Honeywell’s online community forums or contact their technical support for clarification. Following these steps guarantees you have the most accurate and up‑to‑date documentation for troubleshooting and configuration.
Download links are provided as PDF files; ensure the URL ends with .pdf and the file size matches the official specification to avoid corrupted downloads. Keep the manual in a folder for future reference.!
Installation Guide
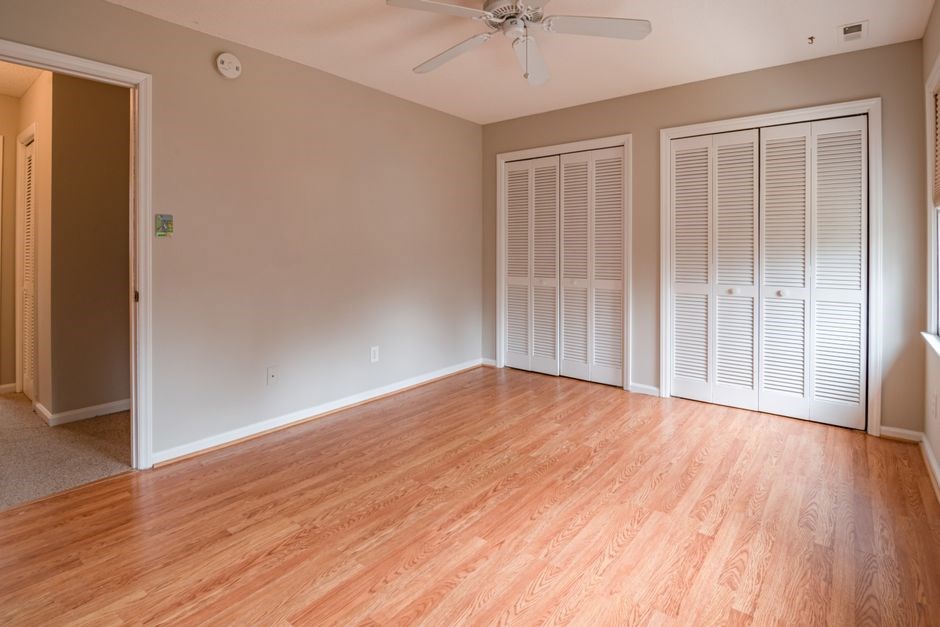
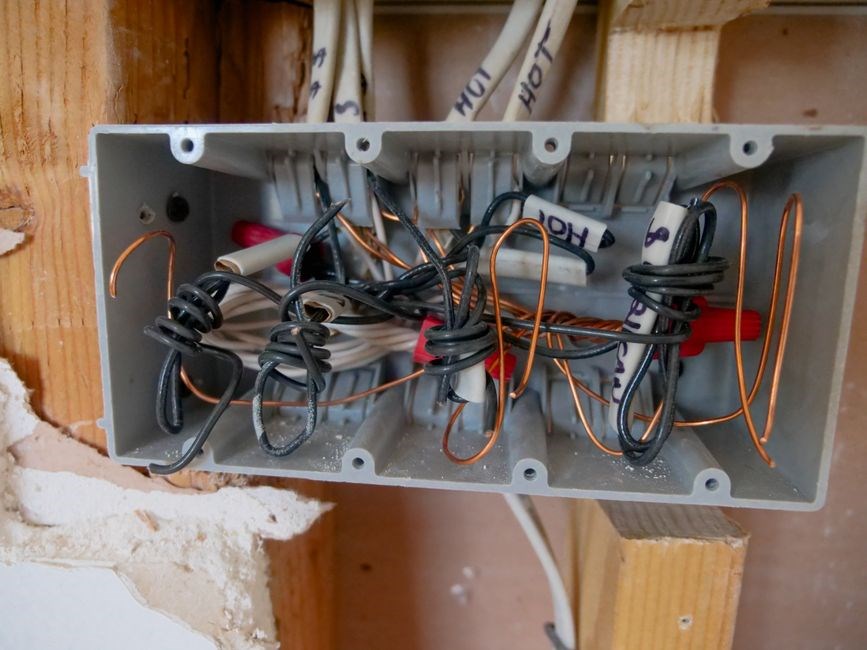
Follow the Honeywell TH5220D1029 manual PDF for mounting, wiring, network setup. Begin by securing the thermostat to the wall, connecting the 24 V power, linking the thermostat to your HVAC system. Use the included wiring diagram and confirm all connections before powering on now!!!
Step-by-Step Setup Instructions
Begin by reading the Honeywell TH5220D1029 manual PDF to familiarize yourself with the thermostat’s layout and required components; Ensure you have a compatible HVAC system, a 24‑volt power supply, and a stable Wi‑Fi network if you plan to use the smart features. Turn off the main power to your heating and cooling system to prevent any electrical hazards. Mount the thermostat on a wall surface using the provided mounting plate and screws, keeping it at eye level for optimal usability. Use the thermostat’s diagnostics to confirm all connections are secure and OK; Attach the common wire (C) to the C terminal if your system requires it. Once wiring is complete, restore power and press the thermostat’s reset button to initialize the unit. The display should light up, indicating a successful power connection. Proceed to the initial setup by selecting your language, time zone, and date/time settings using the touchscreen interface. Next, configure the HVAC system type—either heating, cooling, or both—by selecting the appropriate options. The manual PDF provides a step-by-step guide for setting up the thermostat’s Wi‑Fi: tap the Wi‑Fi icon, choose your network, and enter the password. After a successful connection, the thermostat will automatically download the latest firmware updates. Finally, test the thermostat by setting a temporary temperature change and observing the HVAC response. If the system reacts correctly, your installation is complete. For any discrepancies, refer back to the troubleshooting section of the manual PDF.
Configuration and Programming
Use the Honeywell TH5220D1029 PDF to set schedules, modes, and temperature limits. Access the menu via the touchscreen, choose “Schedule,”then add days and times. For eco‑mode, tap “Eco,”adjust the offset, and save. The thermostat syncs settings to the cloud automatically.

Setting Temperature Schedules and Modes
Follow the step‑by‑step instructions in the Honeywell TH5220D1029 manual PDF to configure daily temperature schedules and select operating modes. First, press the “Menu” button on the thermostat’s faceplate, then navigate to “Schedule” using the arrow keys. Choose “Add” to create a new time block, input the desired start time, and set the target temperature. Repeat for each block to cover morning, afternoon, evening, and night periods; For weekend flexibility, use the “Weekday” and “Weekend” options to duplicate or modify schedules. To enable eco‑friendly operation, select the “Eco” mode from the main menu, then adjust the temperature offset by pressing the “+” or “–” keys until the desired range is displayed. The thermostat will automatically switch between Comfort, Eco, and Off modes based on the programmed schedule and user overrides. If you prefer manual control, press the “Mode” button to cycle through the available modes. The manual also explains how to set a temporary override by selecting “Override” and entering a new temperature for a limited duration. After each change, confirm by pressing “Save” or “Apply.” The PDF includes screenshots and tip boxes to help troubleshoot common issues such as time zone mismatches or daylight‑saving adjustments. By following these steps, you can tailor the thermostat’s behavior to match your daily routine, reduce energy consumption, and maintain comfort throughout the year.

Common Troubleshooting Issues
Common issues include display flicker, Wi‑Fi disconnection, or incorrect temperature readings. Check power, reset network settings, update firmware, and verify sensor placement. If problems persist, consult the manual’s troubleshooting section or contact support. Check bat.
Resolving Connectivity and Display Problems
When the Honeywell TH5220D1029 thermostat shows connectivity or display errors, begin by confirming the unit is within the router’s effective range and that no physical barriers or electronic interference are present. Power‑cycle both the thermostat and the wireless router: turn the thermostat off, wait 30 seconds, then power it back on, and repeat the same procedure with the router. If the problem continues, reset the thermostat’s network settings by navigating to Settings → Network → Reset, then re‑enter the SSID and password. Verify that the router’s firmware is current and that the network operates on a 2.4 GHz band, as the TH5220D1029 does not support 5 GHz frequencies. If MAC‑filtering is enabled on the router, add the thermostat’s MAC address to the allowed list. For display glitches such as a blank screen or flickering, check the power supply: the thermostat requires a stable 24 V AC source. Use a multimeter to confirm voltage, and inspect the wiring at the back panel for loose or corroded terminals. A factory reset can be performed by holding the button for 10 seconds until the screen flashes, then re‑configure the device. Download the latest firmware from Honeywell’s official support portal, transfer it via the thermostat’s USB port, and apply the update. If the display remains unresponsive, enable debug mode by pressing the button three times quickly; the screen will show error codes that can be cross‑referenced with the troubleshooting guide on Honeywell’s website. Finally, if none of these steps resolve the issue, contact Honeywell technical support with the serial number and the error code displayed. Ensureproper setup. All done. Ok.
Maintenance and Firmware Updates
Regularly check the thermostat’s battery, clean vents, and inspect wiring for corrosion. Use the Honeywell app or web portal to download the latest firmware, transfer via USB, and install following on‑screen prompts. Verify successful update by reviewing version info!
Regular Checks and Upgrading Software
To keep the Honeywell TH5220D1029 running smoothly, perform routine inspections and firmware upgrades as outlined in the official manual PDF. Begin each cycle by verifying the thermostat’s power source—whether it’s a sealed battery pack or a wired connection—and ensure the indicator lights display the correct status. Next, inspect the external housing for cracks, moisture, or dust accumulation; a clean surface improves heat dissipation and prolongs component life. Use a soft, lint‑free cloth to wipe the display and buttons, avoiding abrasive cleaners that could damage the screen.
After physical checks, launch the Honeywell mobile app or access the web portal to confirm the current firmware version. The manual specifies that the TH5220D1029 typically receives updates every 3–6 months to address security patches, performance tweaks, and new feature support. Download the latest firmware file from the authorized repository, ensuring the file’s checksum matches the one listed in the PDF to prevent corrupted installations;
Before installing, back up any custom schedules or temperature profiles via the app, as the update process may reset user settings. Connect the thermostat to your home network, then navigate to the “Software Update” section within the device menu. Follow the on‑screen prompts: accept the license agreement, confirm the download, and allow the system to reboot automatically. During the reboot, the thermostat will overwrite the old firmware and apply the new code. Once the update completes, verify the new version number and re‑import your saved schedules.
Finally, test the thermostat: set a temperature change, observe the display, and confirm HVAC response. Log the date and version in a maintenance record. Repeating this cycle—every 90 days—keeps performance, security, and reliability high. This ensures operation daily soon now!!

Warranty, Support, and Resources
Warranty lasts 2 years from purchase. For support, visit Honeywell’s official site, use the online chat, or call 1‑800‑HONEYWELL. The manual PDF lists troubleshooting steps and links to firmware updates. Resources include FAQs, video tutorials, and community forums. For help, see the FAQ or email support@honeywell.com.!!!

Contacting Honeywell and Accessing Technical Support
For assistance with the Honeywell TH5220D1029, begin by visiting the official Honeywell support portal. Enter your model number in the search field to locate the PDF manual and related troubleshooting guides. The portal offers a live chat feature, an email submission form, and a dedicated phone line (1‑800‑HONEYWELL) that operates Monday through Friday, 8 a.m. to 8 p.m. Eastern Time. If you prefer in‑person help, locate a certified Honeywell service technician via the “Find a Service Center” tool, which provides addresses, hours, and contact details. For firmware updates, download the latest version from the “Downloads” section, then follow the step‑by‑step instructions in the manual to apply the update safely. If the device is still under warranty, request a replacement or repair by filling out the warranty claim form available on the portal. Keep your purchase receipt and serial number handy; these are required for all warranty claims. For advanced troubleshooting, join the Honeywell Community Forum, where experienced users and support engineers share solutions. Finally, subscribe to the Honeywell newsletter to receive updates on new firmware releases, feature enhancements, and special promotions. Should any issue persist beyond the provided resources, customers may also consult the Honeywell Knowledge Base, which offers detailed troubleshooting articles, video tutorials, and downloadable diagnostic tools; these resources are regularly updated to reflect the latest firmware, ensuring users have access to the most current information for performance.!!!