Welcome to the Audio Technica Record Player Manual. This guide provides essential information for setting up, operating, and maintaining your device. Read it carefully to ensure safe and optimal use, helping you enjoy your vinyl collection fully.
1.1 Overview of the Manual’s Purpose and Structure
This manual is designed to guide users through the safe and effective use of their Audio Technica record player. It covers essential topics such as setup, operation, maintenance, and troubleshooting. The manual is structured into clear sections, starting with an introduction, followed by setup instructions, feature explanations, operational guidance, and maintenance tips. Additional sections address common issues and provide safety precautions. By following this manual, users can optimize their vinyl listening experience while ensuring the longevity of their device. Refer to each section for specific instructions tailored to your needs.
1.2 Importance of Reading the Manual Before Use
Reading the manual before using your Audio Technica record player is crucial for ensuring safe and correct operation. It helps you avoid common issues like distorted sound and improper setup, which can damage the device or your records. The manual provides essential guidance on connecting the turntable to your audio system, maintaining the stylus, and troubleshooting problems. Additionally, it covers warranty information and proper handling techniques to extend the lifespan of your record player. By following the manual, you can enjoy optimal performance, protect your investment, and enhance your overall vinyl listening experience.
Setting Up Your Audio Technica Record Player
Start by unboxing and verifying all included items. Connect the RCA audio cables to your system and ensure proper AC adapter handling for optimal performance.
2.1 Unboxing and Checking Included Items
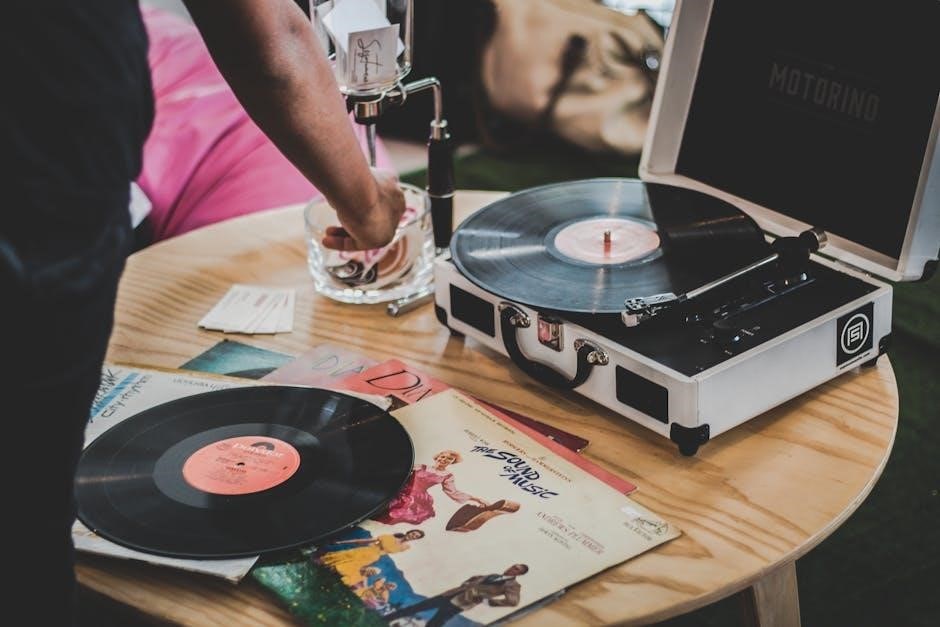
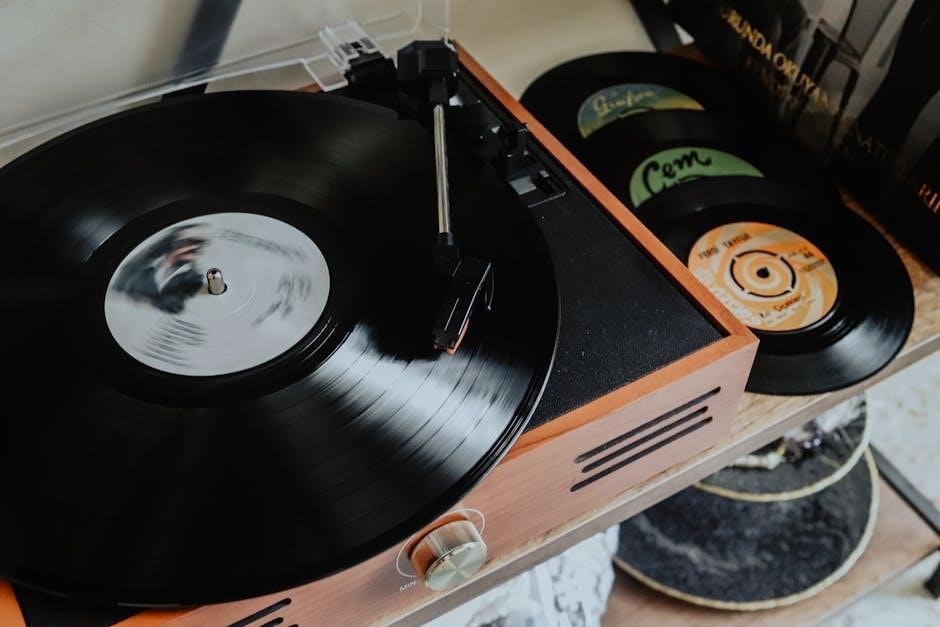
When you unbox your Audio Technica record player, ensure all components are included, such as the turntable, AC adapter, USB cable, RCA audio cable, and accessories. Carefully inspect for any damage; Check the stylus and cartridge to confirm they are securely attached. Make sure the tonearm and platter are in good condition. If any items are missing or damaged, contact Audio Technica support immediately. Properly handling these components ensures optimal performance and longevity of your record player.
2.2 Connecting the Turntable to Your Audio System
To connect your Audio Technica record player, locate the RCA audio output terminals on the turntable. Use the provided RCA audio cable to connect these terminals to your amplifier, receiver, or powered speakers. Ensure the pre-amplifier selector switch is set to the LINE position for proper signal routing. After connecting, plug in the AC adapter and allow 30 seconds before playing a record to avoid sound distortion. Proper connections are crucial for clear and high-quality audio playback. Always refer to your system’s manual for specific compatibility guidance.
Understanding the Turntable’s Features
Explore the turntable’s key features, including USB output for digital conversion, Bluetooth connectivity for wireless playback, and three-speed operation for 33-1/3, 45, and 78 RPM records.
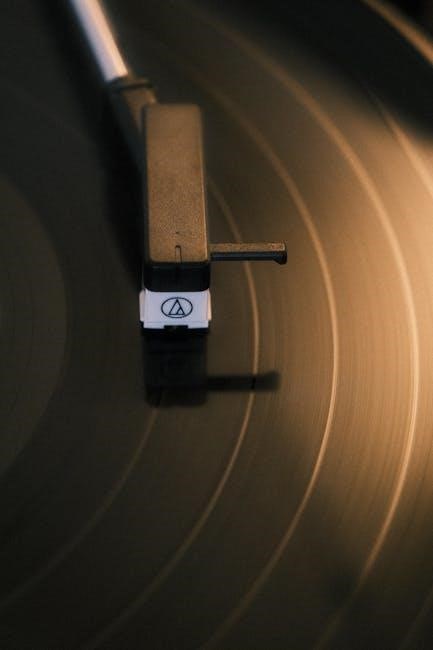
3.1 Exploring the Controls and Components
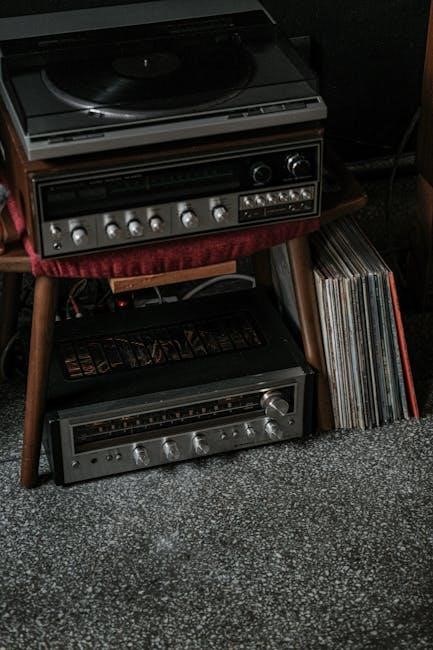
Familiarize yourself with the turntable’s components, including the tonearm, platter, and stylus. Locate the speed selector for 33-1/3, 45, and 78 RPM records. Identify the RCA output terminals for connecting to your audio system and the USB port for digital recording. Adjust the pre-amplifier switch to suit your setup. Understand the function of the power button, volume control, and Bluetooth connectivity options. Properly handling these components ensures optimal performance and longevity of your record player.
3.2 Speed Settings and Their Adjustments
The turntable features three speed settings: 33-1/3 RPM, 45 RPM, and 78 RPM. Use the speed selector switch to choose the correct speed for your record. Ensure the platter is stationary when adjusting speeds. For accurate playback, verify the speed matches the record’s label. If sound issues arise, check the speed setting or refer to troubleshooting guidelines. Proper speed adjustment ensures clear and distortion-free audio, enhancing your listening experience with optimal performance. Regularly inspect the belt or direct drive mechanism to maintain precise speed control over time.
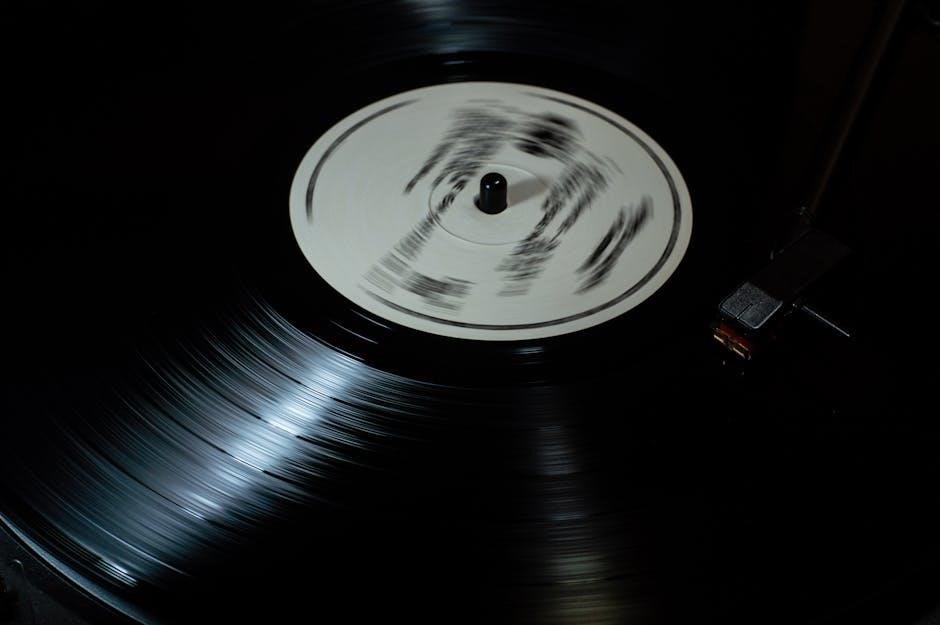
Operating the Record Player
Place the record carefully on the platter, ensure it is stationary, and use the tonearm to play. Avoid touching the stylus or moving the turntable during playback. Bluetooth and wired connections can be active simultaneously, but ensure proper mode selection for optimal performance. Follow the manual’s guidelines for smooth operation and high-quality sound output.
4.1 Step-by-Step Guide to Playing Records
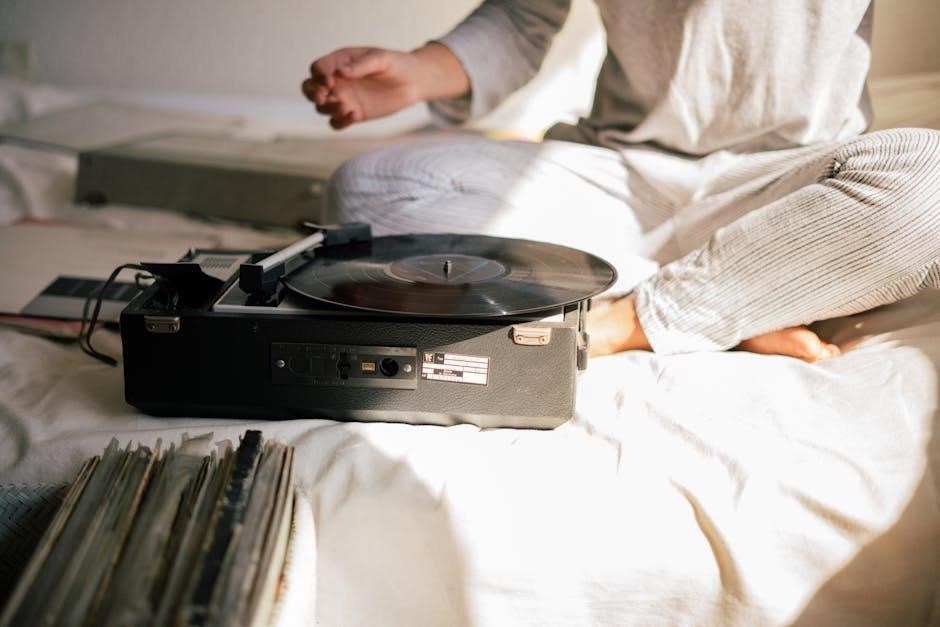
Start by ensuring the turntable is powered on. Place the record on the platter, aligning the spindle. If using a 45 RPM record, attach the adapter. Set the speed selector to match the record’s RPM. Gently lift the tonearm and place it at the record’s edge. Press the start button to begin playback. For manual operation, lift the tonearm and place it at the desired track. Always handle records by the edges to avoid damage. Ensure the pre-amplifier is set to LINE for proper audio output.
4.2 Switching Between Automatic and Manual Modes
To switch modes, locate the mode selector switch, typically labeled as AUTO or MANUAL. For automatic mode, place the record on the platter, set the speed, and press play. The tonearm will automatically lift and lower. In manual mode, lift the tonearm and place it at your desired track. Always handle records by the edges and avoid touching the stylus. Ensure the pre-amplifier is set to LINE for proper audio output. Proper handling prevents damage to both the record and the turntable components.
Maintenance and Care
Regularly clean the stylus with a soft brush to prevent dust buildup. Avoid touching the stylus to prevent damage. Use a dry cloth to wipe the platter and mat. Check for dust and debris on the tonearm and motor. Store records upright in sleeves to prevent warping. Proper maintenance ensures optimal sound quality and extends the lifespan of your record player.
5.1 Cleaning and Handling the Stylus
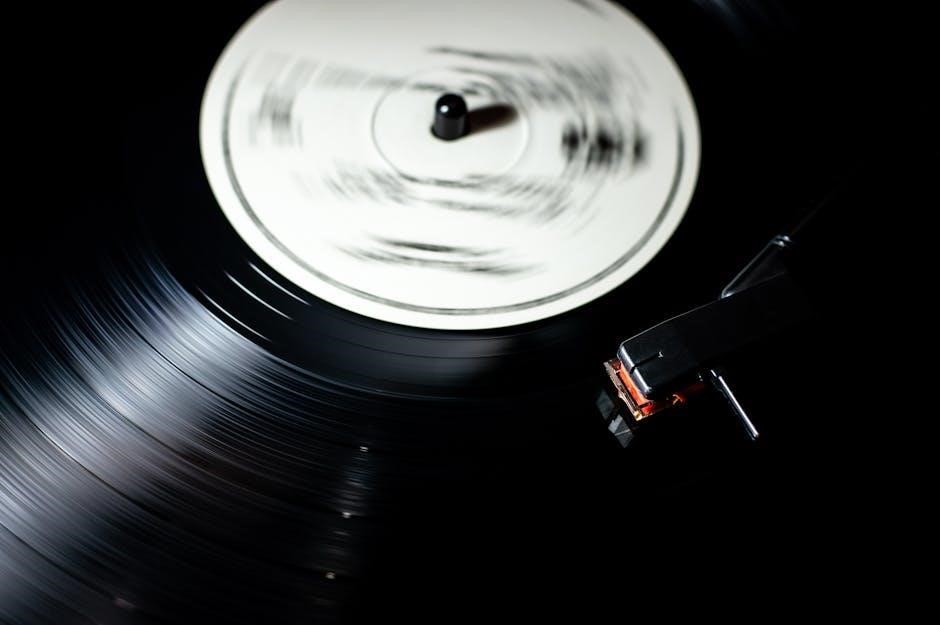
Regularly clean the stylus with a soft, dry brush to remove dust and debris. Avoid touching the stylus tip with your fingers to prevent oil transfer and damage. Gently sweep the brush across the stylus from back to front to ensure proper maintenance. Do not bump the stylus against the platter, record edges, or other surfaces, as this can cause permanent damage. Proper care extends the lifespan of your stylus and ensures optimal sound quality. Always handle the stylus by its edges to maintain accuracy and performance.
5.2 Regular Maintenance for Optimal Performance
Regular maintenance ensures your Audio-Technica record player performs at its best. Clean the platter and mat with a soft cloth to remove dust and debris. Check the platter for flatness and the mat for damage, replacing it if necessary. Ensure the turntable is properly grounded to prevent static buildup. Periodically inspect the tonearm for alignment and balance. Avoid exposing the unit to direct sunlight, moisture, or extreme temperatures. For detailed maintenance steps, refer to the manual to keep your record player in pristine condition and extend its lifespan.
Troubleshooting Common Issues
This section addresses common problems like distorted sound or uneven playback. Check connections, ensure proper grounding, and verify speed settings. Consult the manual for solutions to resolve issues quickly and effectively.
6.1 Resolving Sound Quality Problems
If the sound is distorted or unclear, check the RCA connections and ensure they are securely plugged in. Verify the grounding wire is properly attached to prevent hum. If the sound is too fast or slow, adjust the pitch control or confirm the correct RPM setting. For skipping or scratching sounds, inspect the stylus for damage or dirt and clean it gently. Ensure the tracking force is set correctly and the anti-skate is adjusted. Avoid touching the stylus with your fingers to prevent damage. Keep the turntable away from wireless devices to minimize interference. Clean the platter and record surface regularly for optimal playback. Always handle the record by the edges and avoid exposure to direct sunlight or extreme temperatures. If issues persist, refer to the troubleshooting guide or contact Audio-Technica support for assistance. Proper care and maintenance will ensure your turntable delivers high-quality sound for years to come.
6.2 Addressing Speed Irregularities
If the record plays too fast or too slow, check the RPM setting and ensure it matches the record’s speed. Adjust the pitch control if available. Verify the power supply is stable and the turntable is placed on a level surface. Avoid moving the turntable during operation. If issues persist, unplug the AC adapter, wait 30 seconds, and restart. Ensure the belt is properly aligned and not slipping. Clean the platter and motor area to prevent interference. Refer to the troubleshooting guide for further assistance if the problem continues. Proper adjustment ensures accurate playback speed and sound quality.
Advanced Features and Connectivity
Explore advanced features like USB output for digital conversion and Bluetooth connectivity for wireless playback. These options enhance versatility, allowing seamless integration with modern audio systems and devices.
7.1 Using USB Output for Digital Conversion
The USB output feature allows you to connect your turntable to a computer, enabling digital conversion of your vinyl records. This is ideal for preserving your collection or creating digital backups. Simply connect the USB cable to your computer and use compatible software to record and convert your vinyl tracks. This feature enhances versatility, making it easy to enjoy your music in both analog and digital formats. Ensure the turntable is properly powered and connected before initiating the conversion process for optimal results.
7.2 Bluetooth Connectivity and Wireless Playback
Bluetooth connectivity allows wireless playback from your Audio Technica record player to compatible devices like speakers or headphones. Activate Bluetooth on both the turntable and your device, then pair them to enjoy cable-free listening. Ensure the turntable is in pairing mode and within the 10-meter range for stable connection. Note that sound may play through both wireless and wired devices if the latter are active. This feature enhances convenience, offering a modern way to enjoy your vinyl collection wirelessly.
Safety Precautions
Ensure safe usage by avoiding drips, splashes, and cabinet tampering. Keep the stylus clean and avoid unauthorized repairs. Use correct voltage to prevent damage and ensure longevity.
8.1 Avoiding Damage to the Turntable and Records
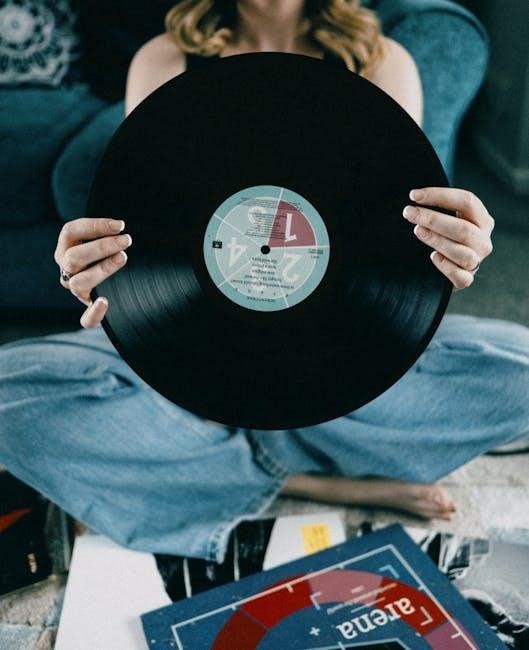
To prevent damage, avoid touching the stylus with your fingers and ensure it doesn’t bump against the platter or record edges. Handle records by the edges to avoid fingerprints. Use the 45 RPM adapter correctly and remove records when not in use. Store the tonearm securely when moving the turntable. Keep the device away from liquids and ensure proper voltage usage to avoid electrical issues. Regular cleaning and proper handling will extend the life of your turntable and records.
8.2 Electrical Safety and Handling
Ensure the turntable is used with the correct voltage and plug type for your region to avoid electrical issues. Avoid exposing the device to water or moisture, as this can cause damage or electric shock. Never open the cabinet or attempt to service the product yourself—only qualified personnel should perform repairs. Keep the AC adapter away from overheating sources and avoid overloading circuits. Store the turntable in a dry, stable environment and handle it with care to prevent electrical or mechanical damage.
Warranty and Support Information
Your Audio Technica record player is backed by a limited warranty. For details on coverage, visit the official Audio Technica website or contact their support team directly.
9.1 Understanding Your Warranty Coverage
Your Audio Technica record player is protected by a limited warranty, which covers manufacturing defects for a specified period. The warranty typically includes repair or replacement of defective parts, excluding damages caused by misuse or external factors. For detailed terms, refer to the warranty documentation provided with your purchase or visit the official Audio Technica website. Proper registration and adherence to usage guidelines are essential to maintain warranty validity. This coverage ensures your investment is safeguarded, providing peace of mind for your vinyl listening experience.
9.2 Contacting Audio Technica Support
For assistance with your Audio Technica record player, visit the official Audio Technica website or contact their customer support team. Support is available via email, phone, or through the website’s contact form. Ensure you have your product model number and purchase details ready for efficient service. Operating hours and contact information vary by region, so check the support page for specific details. Audio Technica’s dedicated team is committed to resolving inquiries and ensuring a smooth experience with your record player.
Leave a Reply
You must be logged in to post a comment.