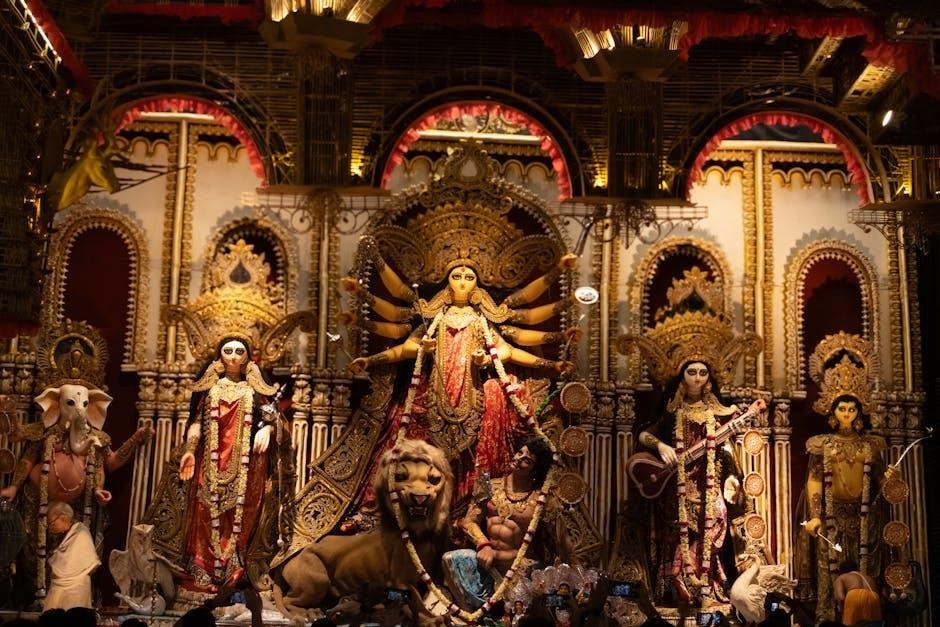
Lakshmi Sahasranamavali is a revered Hindu hymn comprising 1000 names of Goddess Lakshmi, symbolizing her divine attributes. It is a powerful tool for worship, invoking blessings, and seeking spiritual prosperity.
1.1 Significance of Lakshmi Sahasranamavali in Hinduism
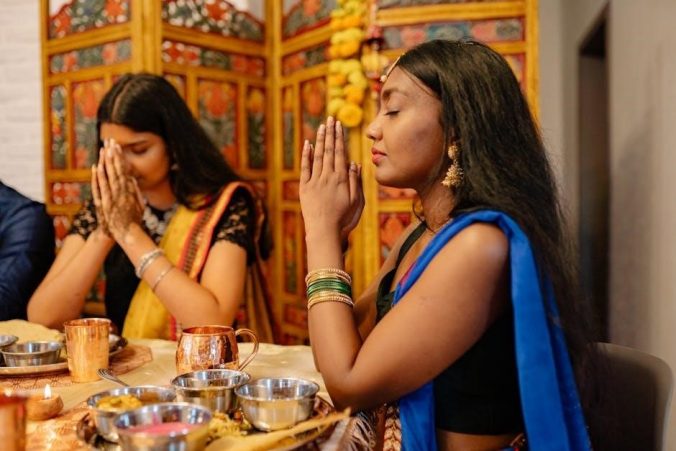
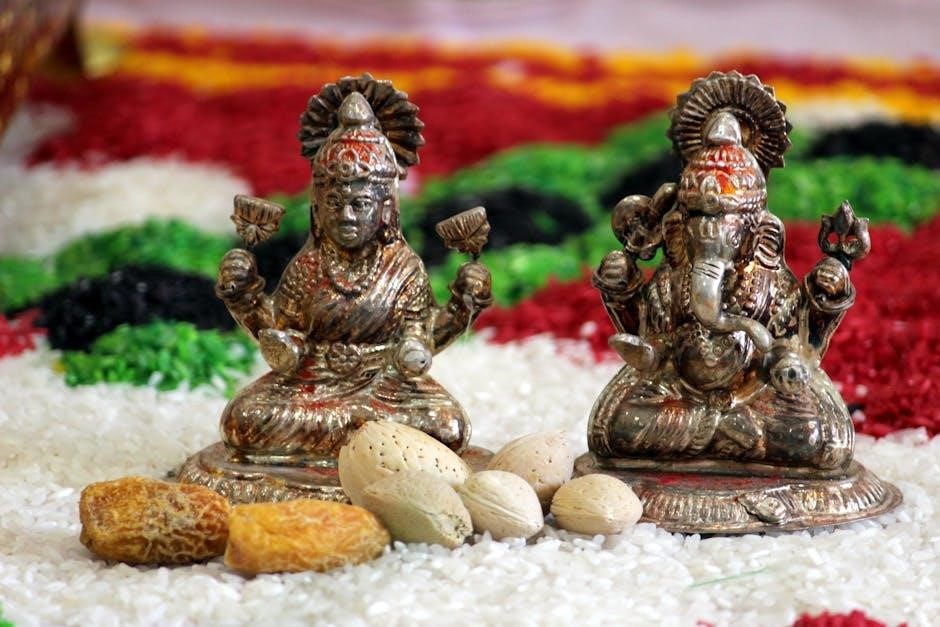
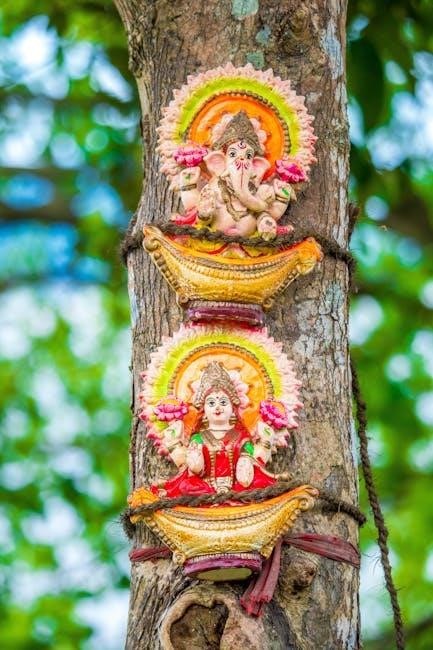
Lakshmi Sahasranamavali holds profound significance in Hinduism as a sacred hymn dedicated to Goddess Lakshmi, embodying her divine attributes. It is revered for its ability to invoke blessings, prosperity, and protection. The recitation is believed to ward off poverty and negative energies, fostering spiritual and material well-being. Considered a powerful tool for worship, it is often recited during rituals and festivals to seek divine grace and maintain harmony in life.
1.2 Overview of the Structure and Content
Lakshmi Sahasranamavali is a structured hymn containing 1000 divine names of Goddess Lakshmi, each representing her distinct attributes. The text is traditionally written in Sanskrit, divided into verses that glorify her as the embodiment of wealth, prosperity, and spiritual growth. Originating from the Skanda Purana, it is taught by Sage Sanath Kumara to 12 sages, making it a revered and organized litany for worship and contemplation.
Historical Context and Origins
Lakshmi Sahasranamavali originates from the Skanda Purana, taught by Sage Sanath Kumara to 12 sages, symbolizing divine attributes and spiritual significance in Hinduism.
2.1 The Source of Lakshmi Sahasranamavali
Lakshmi Sahasranamavali originates from the Skanda Purana, an ancient Hindu scripture. It is a sacred hymn taught by Sage Sanath Kumara to 12 sages, highlighting Goddess Lakshmi’s divine attributes. This text is revered for its spiritual significance and is often recited in worship to invoke her blessings, symbolizing prosperity and divine grace.
2.2 Sage Sanath Kumara and the 12 Sages
Sage Sanath Kumara, a revered figure in Hindu scriptures, is credited with imparting the Lakshmi Sahasranamavali to 12 dedicated sages. This divine transmission, as documented in the Skanda Purana, underscores the hymn’s sacred origins. The 12 sages played a pivotal role in preserving and propagating this spiritual text, which has become a cornerstone of devotion to Goddess Lakshmi, embodying her divine grace and wisdom.
Benefits of Reciting Lakshmi Sahasranamavali
Reciting Lakshmi Sahasranamavali bestows spiritual and material prosperity, wards off negative energies, and attracts divine blessings. It fosters wealth, peace, and harmony, fulfilling heartfelt desires and dispelling poverty.
3.1 Spiritual and Material Prosperity
Reciting Lakshmi Sahasranamavali brings both spiritual and material prosperity. It enhances inner peace, wisdom, and divine connection while attracting wealth, success, and abundance. The hymn’s sacred verses align one’s consciousness with Goddess Lakshmi’s blessings, fostering a harmonious balance between spiritual growth and worldly comforts. Regular recitation is believed to fulfill desires, ensuring a life filled with grace, prosperity, and eternal happiness.
3.2 Warding Off Negative Energies and Poverty
Reciting Lakshmi Sahasranamavali is believed to repel negative energies and alleviate poverty. The divine vibrations of the hymn create a protective shield, dispelling adversity and attracting positive fortune. By invoking Goddess Lakshmi’s grace, devotees experience a profound shift, moving from scarcity to abundance and fostering a life filled with peace, prosperity, and eternal blessings. This sacred practice ensures spiritual and material well-being, safeguarding against misfortune and nurturing a harmonious existence.

The Structure of the Sahasranamavali
Lakshmi Sahasranamavali is a structured hymn with 1000 names, divided into sections, written in Sanskrit verses. Its design enhances focus, devotion, and spiritual connection, as explained in the phala shruti.
4.1 The 1000 Names of Goddess Lakshmi
The 1000 names of Goddess Lakshmi in the Sahasranamavali encapsulate her multifaceted nature, from prosperity to purity. Each name, such as “Nityagata” and “Anantanitya,” highlights her eternal and infinite essence, offering devotees a profound way to connect with her divine attributes and seek blessings for material and spiritual fulfillment.
4.2 The Language and Verses
The Lakshmi Sahasranamavali is composed in Sanskrit, the sacred language of Hindu scriptures, ensuring its verses carry profound spiritual significance. The hymn is structured as couplets, or shlokas, drawn from ancient texts like the Skanda Purana. Each verse follows a specific meter, enhancing its rhythmic recitation. This linguistic and poetic structure not only preserves its authenticity but also facilitates devotion and focus during chanting.
Significance of Each Name
Each name in Lakshmi Sahasranamavali embodies a unique aspect of Goddess Lakshmi, reflecting her divine attributes, from prosperity to spiritual growth. Together, they create a holistic worship experience.
5.1 Nityagata and Anantanitya
Nityagata signifies Goddess Lakshmi’s eternal movement, embodying her dynamic nature and constant presence in the universe. Anantanitya highlights her boundless and endless essence, reflecting her infinite divine attributes.
Together, these names symbolize her role in maintaining cosmic balance and nurturing life. Devotees often meditate on these aspects to seek harmony and abundance in their lives, deeply connecting with her universal energy.
5.2 The Deep Meaning Behind Each Name
Each name in Lakshmi Sahasranamavali holds profound spiritual significance, reflecting her divine attributes and universal benevolence. These names embody her role as the embodiment of wealth, prosperity, and spiritual growth, offering devotees a deeper connection to her eternal essence.
The names are carefully crafted to evoke specific blessings, from material abundance to inner peace, making each recitation a meaningful journey into her divine realm and a celebration of her infinite grace.

How to Recite Lakshmi Sahasranamavali
Recitation is best done with focus and purity of intent, ideally on Fridays or full moon days. Chanting slowly and mindfully ensures spiritual and material prosperity.
6.1 Best Times for Recitation
The ideal times for reciting Lakshmi Sahasranamavali are early mornings before sunrise or on auspicious days like Fridays and full moon days. These periods amplify spiritual focus and divine connection, ensuring maximum benefits. Regular recitation during these times fosters prosperity and inner peace, aligning with the hymn’s purpose of invoking Goddess Lakshmi’s blessings. Consistency is key for optimal results.
6.2 The Importance of Focus and Purity
True focus and purity of intention are essential for effective recitation of Lakshmi Sahasranamavali. A calm mind and sincere devotion enhance the spiritual experience, allowing the practitioner to connect deeply with Goddess Lakshmi. Distractions must be minimized to maintain concentration, ensuring the mantras resonate effectively. Purity of heart and purpose amplify the hymn’s power, leading to both material and spiritual fulfillment. Discipline in practice yields profound results.
Cultural and Religious Impact
Lakshmi Sahasranamavali holds profound cultural and religious significance, deeply embedded in Hindu traditions. It is widely used in festivals, rituals, and daily worship, fostering devotion and spiritual connection.
7.1 Role in Festivals and Rituals
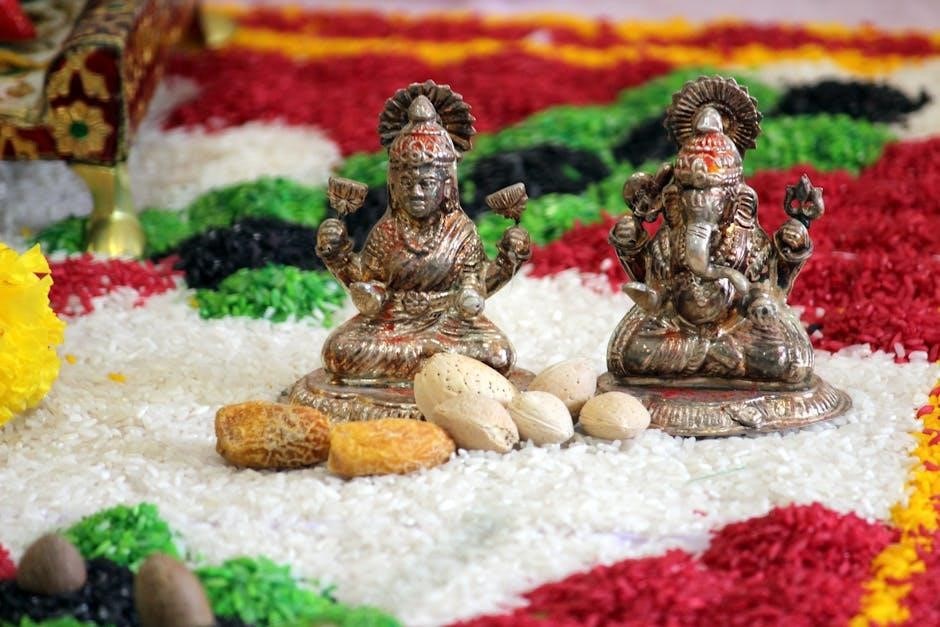
Lakshmi Sahasranamavali is an integral part of Hindu festivals, particularly during Diwali and Navratri, where it is chanted to invoke Goddess Lakshmi’s blessings for prosperity and wealth. Its recitation is also common in rituals like weddings and wealth-related ceremonies, symbolizing the divine invocation of fortune and positivity. The hymn’s verses are often sung collectively in temples and homes, fostering a sense of community and spiritual harmony among devotees.
7.2 Influence on Devotional Practices
Lakshmi Sahasranamavali deeply influences devotional practices by fostering mindfulness and gratitude. Its recitation is a structured form of worship, helping devotees connect deeply with Goddess Lakshmi; The hymn’s verses, rich in meaning, encourage a profound understanding of her attributes, enhancing spiritual growth. Regular recitation cultivates a sense of divine presence, making it a cornerstone of daily devotion for many, while its accessibility in PDF formats has widened its reach, inspiring modern practitioners to embrace this timeless tradition.
Lakshmi Sahasranamavali vs. Ashtottara Shatanamavali
Lakshmi Sahasranamavali includes 1000 names, focusing on divine attributes for spiritual growth, while Ashtottara Shatanamavali has 108 names, offering a concise, accessible worship format for prosperity and blessings.
8.1 Key Differences
Lakshmi Sahasranamavali contains 1000 names, focusing on Goddess Lakshmi’s divine attributes for spiritual growth, while Ashtottara Shatanamavali has 108 names, emphasizing concise worship for prosperity. The Sahasranamavali is more detailed, offering deeper meditation on Lakshmi’s qualities, whereas the Ashtottara is shorter and more accessible for daily recitation. Both texts aim to invoke blessings but cater to different practices and preferences, with the Sahasranamavali being more comprehensive and the Ashtottara more succinct.
8.2 Which One to Choose for Specific Benefits
Choose Lakshmi Sahasranamavali for profound spiritual growth and detailed meditation on the goddess’s attributes. Opt for Ashtottara Shatanamavali for concise, daily worship and quick blessings. Sahasranamavali is ideal for those seeking deep spiritual connection, while Ashtottara suits busy individuals aiming for prosperity and protection through shorter, accessible recitations. Both texts offer divine benefits but cater to different practices and personal preferences.

Modern Accessibility and Resources
Modern accessibility has made Lakshmi Sahasranamavali widely available through PDF versions and digital platforms. Apps and online tools now aid in easy recitation and understanding.
9.1 PDF Versions and Digital Availability
Lakshmi Sahasranamavali is widely available in PDF formats, making it easily accessible for download and recitation. Digital platforms offer e-books, interactive versions, and apps, ensuring convenience for modern devotees. These resources often include translations, meanings, and guided recitations, enhancing the spiritual experience. The digital revolution has simplified access, allowing global reach and fostering deeper engagement with the sacred text.
9.2 Apps and Tools for Easy Recitation
Various apps and digital tools now offer Lakshmi Sahasranamavali for easy recitation. These platforms provide features like offline access, guided recitations, and synchronized audio tracks. Apps often include translations, meanings, and customizable settings to enhance the spiritual experience. They cater to both beginners and seasoned devotees, ensuring convenience and focus during prayers. Such tools have made it easier to practice regularly, fostering a deeper connection to the divine hymn.
Challenges in Recitation
Challenges include maintaining concentration, overcoming common pitfalls, and ensuring proper pronunciation. Regular practice and devotion help surmount these obstacles, fostering a deeper spiritual connection to the hymn.
10.1 Maintaining Concentration
Maintaining concentration during Lakshmi Sahasranamavali recitation can be challenging due to distractions and mental wanderings. Practitioners often struggle with sustaining focus, especially during lengthy sessions. To overcome this, starting with shorter recitations and gradually increasing duration helps build endurance. Additionally, focusing on the meaning of each name and cultivating a calm, meditative state enhances concentration, allowing for a deeper spiritual connection and more effective worship.
10.2 Overcoming Common Obstacles
Common obstacles during Lakshmi Sahasranamavali recitation include pronunciation challenges, mental distractions, and physical discomfort. To overcome these, practitioners can use digital tools for correct pronunciation, set a consistent routine, and create a quiet, serene environment; Focusing on the hymn’s meaning and gradual practice helps build discipline. Additionally, seeking guidance from experienced devotees or gurus can provide motivation and clarity, aiding in overcoming these challenges effectively.
Lakshmi Sahasranamavali is a revered hymn, encapsulating divine grace and prosperity. Its significance lies in its ability to connect devotees with Goddess Lakshmi, fostering spiritual and material well-being through devotion and recitation.
Regular recitation of Lakshmi Sahasranamavali fosters mental peace, focus, and divine connection. Embrace this practice to experience its transformative power and cultivate a life filled with prosperity and harmony.
11.1 Final Thoughts on the Importance
Lakshmi Sahasranamavali is a sacred hymn that embodies the divine essence of Goddess Lakshmi. Its profound significance lies in its ability to foster spiritual growth, material prosperity, and inner peace. By reciting this revered text, devotees can connect deeply with the goddess, seeking her blessings for a harmonious and fulfilling life. It serves as a timeless guide for those aspiring to balance worldly success with spiritual enlightenment.
11.2 Encouragement for Regular Practice
Regular recitation of Lakshmi Sahasranamavali fosters spiritual growth and material prosperity. Embrace it as a daily ritual to cultivate inner peace and attract divine blessings. Consistency strengthens faith and connection with Goddess Lakshmi, ensuring a balanced life. Make it a part of your spiritual journey to experience its transformative power and achieve lasting harmony in both worldly and spiritual realms.
Additional Resources for Further Study
Explore detailed scriptures, trusted websites, and scholarly forums for deeper insights into Lakshmi Sahasranamavali. Books like “Lakshmi Sahasranamavali: A Comprehensive Guide” and “Hindu Devotional Texts” offer enriching perspectives.
12.1 Recommended Books and Scriptures
For deeper understanding, explore books like “Lakshmi Sahasranamavali: A Comprehensive Guide” and “Hindu Devotional Texts”. These works offer detailed interpretations, historical context, and practical guidance. Scriptures such as the Skanda Purana provide authentic sources. Digital platforms like Amazon and religious websites also offer e-books and PDF versions for easy access. These resources enhance comprehension and facilitate meaningful practice.
12.2 Online Communities and Forums
Online communities like Scribd, Archive.org, and Hindu devotional forums offer valuable resources and discussions on Lakshmi Sahasranamavali. These platforms provide access to PDF versions, interpretations, and insights from scholars. Engaging with these forums allows seekers to connect with like-minded individuals, share experiences, and gain deeper understanding. They also serve as hubs for exchanging knowledge and staying updated on related spiritual practices and events.