
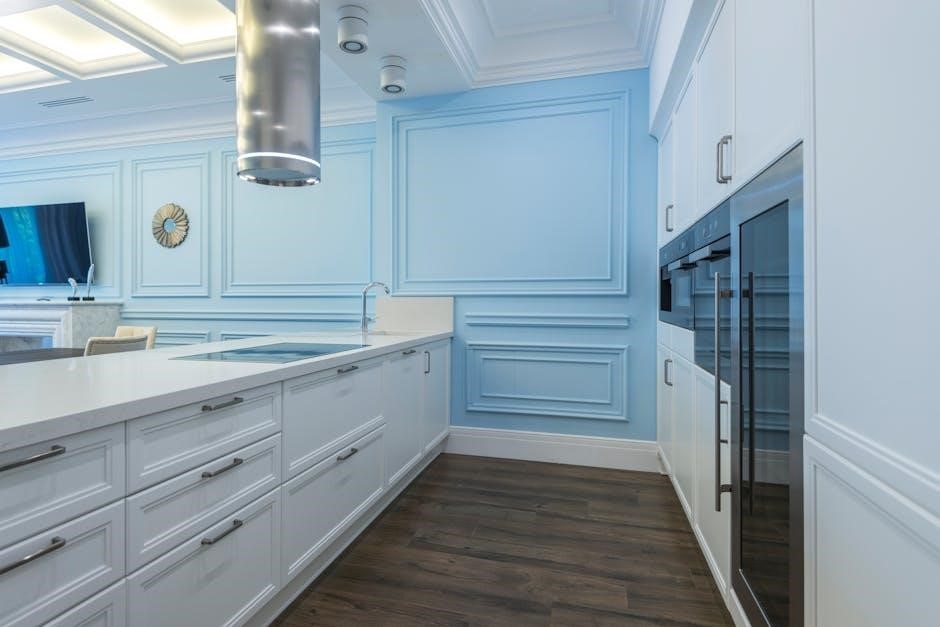
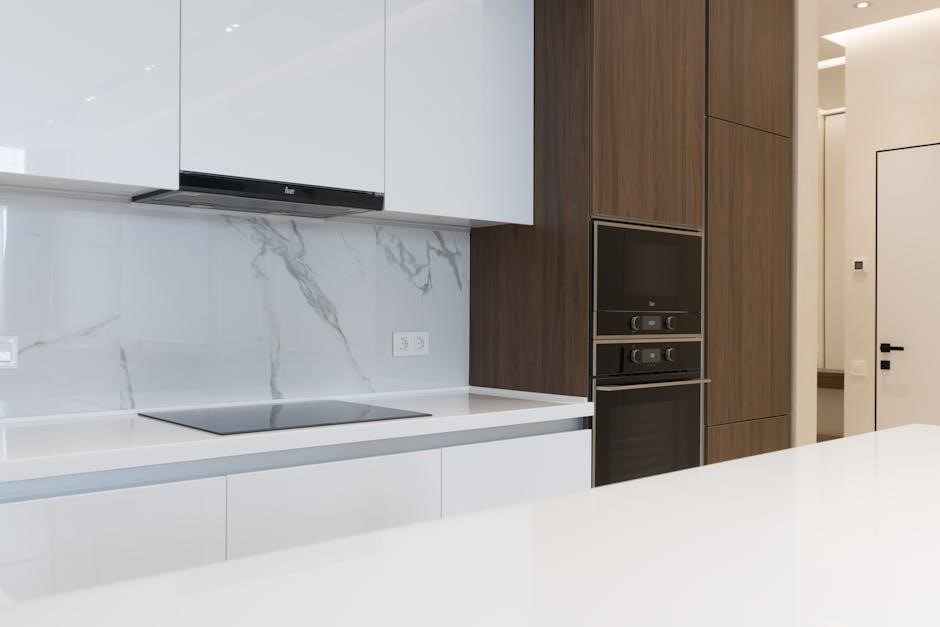
What Are Self-Cleaning Viking Ovens?
Self-cleaning Viking ovens are advanced appliances designed with a unique feature that simplifies oven maintenance․ These ovens use high heat to burn food residue‚ turning it into ash that can be easily wiped away․ This eliminates the need for harsh chemicals or manual scrubbing․ The self-cleaning cycle typically involves locking the oven door and running a specialized program that reaches extremely high temperatures․ Viking ovens are known for their durability and innovative features‚ making them a popular choice for home cooks and professional chefs alike․ The self-cleaning function not only saves time but also ensures a deeper clean‚ keeping the oven in optimal condition for consistent performance․
Benefits of Using a Self-Cleaning Viking Oven
Self-cleaning Viking ovens offer unparalleled convenience and efficiency․ The high-heat cleaning cycle eliminates the need for harsh chemicals‚ reducing exposure to toxic fumes․ This feature saves time by automating the cleaning process‚ allowing users to focus on other tasks․ The intense heat turns food residue into ash‚ which is easy to wipe away‚ ensuring a sparkling interior․ Regular use of the self-cleaning function maintains the oven’s performance and appearance‚ preventing grime buildup․ It also enhances safety by reducing the risk of grease fires․ Overall‚ self-cleaning Viking ovens provide a hassle-free solution for maintaining a clean‚ functional‚ and long-lasting cooking appliance․

Step-by-Step Guide to Self-Cleaning Your Viking Oven
Prepare by removing racks and utensils‚ then set the oven to self-clean mode․ Let the cycle run‚ allowing food residue to burn into ash․ After cooling‚ wipe clean․
Preparing Your Oven for the Self-Cleaning Cycle
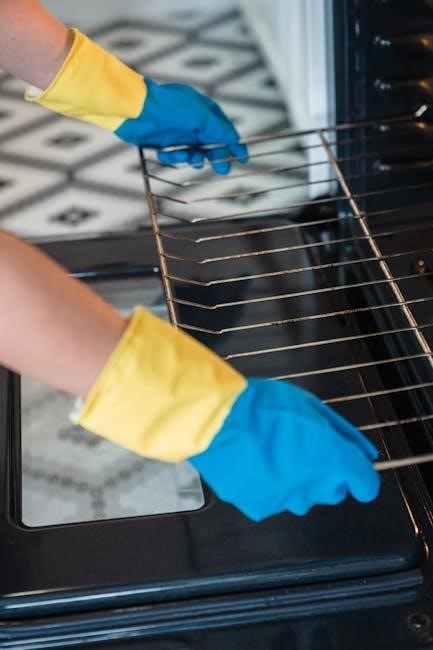
To prepare your Viking oven for the self-cleaning cycle‚ start by removing all racks‚ rack supports‚ and utensils․ Ensure the oven door is completely closed and latched securely․ Avoid using abrasive cleaners beforehand‚ as residue could interfere with the cycle․ Wipe down any large food spills to prevent excessive smoke during cleaning․ Place a broiler pan with water on the bottom rack to help soften tough grime․ Double-check that the oven is empty and no accessories are left inside․ Finally‚ ensure the oven is cool before starting the cycle to avoid damage or safety hazards․
- Remove racks‚ supports‚ and utensils․
- Close and latch the oven door securely․
- Avoid abrasive cleaners beforehand․
- Wipe down large food spills․
- Place a broiler pan with water inside․
- Ensure the oven is empty and cool․
Initiating the Self-Cleaning Cycle
To initiate the self-cleaning cycle on your Viking oven‚ ensure the oven is properly prepared and the door is latched․ Turn the oven selector knob clockwise to the SELF CLEAN mode․ Set the temperature control knob to the recommended cleaning setting‚ typically indicated in your user manual․ The cycle usually lasts about 3 to 4 hours‚ during which the oven heats to a high temperature to burn food residue into ash․ Once the cycle is complete‚ allow the oven to cool before opening the door․ The oven will automatically unlock when the interior has cooled down sufficiently․ Always follow the manufacturer’s instructions for precise settings and timing to ensure safety and effectiveness․
- Turn the selector knob to SELF CLEAN mode․
- Set the temperature to the cleaning setting․
Post-Cleaning Maintenance and Care
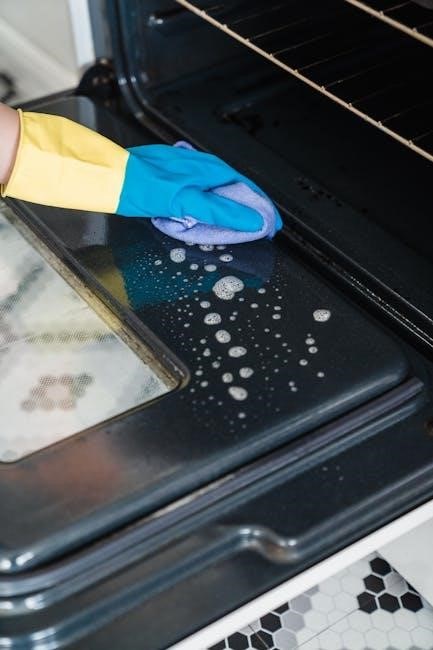
After completing the self-cleaning cycle‚ allow the Viking oven to cool completely before opening the door․ Use a damp cloth to wipe away the ash and residue from the interior surfaces․ Remove the oven racks and wash them separately with mild soap and warm water․ Regularly cleaning the racks and shelves ensures optimal performance․ Avoid using abrasive cleaners or scrubbers‚ as they may damage the oven’s finish․ For tough stains‚ mix baking soda and water to create a paste‚ apply it‚ and let it sit before wiping clean․ Always refer to the user manual for specific maintenance recommendations to keep your Viking oven in excellent condition․
- Allow the oven to cool completely before cleaning․
- Wipe ash and residue with a damp cloth․
- Clean racks and shelves separately․
- Avoid abrasive cleaners to prevent damage․
Common Issues and Solutions
Self-cleaning Viking ovens may face issues like the self-clean cycle not starting or error codes appearing․ Ensure the door is fully closed and latched‚ as improper alignment can prevent the cycle from initiating․ If error codes display‚ refer to the user manual for specific troubleshooting steps․ Always unplug the oven before attempting repairs․ For persistent issues‚ contact Viking customer support or a certified technician․ Regular maintenance‚ such as cleaning sensors and ensuring proper ventilation‚ can help prevent these problems․ Addressing issues promptly ensures optimal performance and longevity of your appliance․
- Check door alignment and latching․
- Consult the manual for error code solutions․
- Contact support for unresolved problems․
Troubleshooting the Self-Cleaning Feature
If the self-cleaning cycle fails to start‚ ensure the oven door is fully closed and latched․ Misalignment or improper locking can prevent activation․ Check for error codes on the display‚ as they provide specific guidance for issues like temperature sensors or control board malfunctions․ Refer to the user manual for code meanings and solutions․ If the issue persists‚ unplug the oven and restart it to reset the system․ For unresolved problems‚ contact Viking customer support or a professional technician․ Regularly cleaning the oven’s sensors and ensuring proper ventilation can also prevent such issues․ Always follow manufacturer guidelines to avoid further complications and ensure safe operation․
- Verify door alignment and locking․
- Check and interpret error codes․
- Restart the oven by unplugging it․
- Consult the user manual or contact support․
Addressing Error Codes and Malfunctions
When encountering error codes or malfunctions during the self-cleaning cycle‚ refer to the Viking oven’s user manual for specific code interpretations․ Common issues include faulty temperature sensors‚ malfunctioning door latches‚ or control board problems․ For example‚ an “E1” or “F2” error may indicate a sensor malfunction‚ while a door latch issue could prevent the cycle from starting․ To resolve these‚ turn off the oven‚ unplug it‚ and restart to reset the system․ If the problem persists‚ clean the sensors with a soft cloth and mild soap solution․ For severe malfunctions‚ contact Viking customer support or a certified technician for assistance․ Always follow safety guidelines to avoid further complications․
- Check the user manual for error code meanings․
- Restart the oven by unplugging and replugging it․
- Clean sensors gently with a mild soap solution․
- Contact Viking support for unresolved issues․
Safety Tips and Precautions
Always ensure the oven is cool before cleaning‚ keep children away‚ avoid harsh chemicals‚ and unplug the appliance․ Open windows for ventilation to prevent fume inhalation․
Ensuring Personal Safety During the Cleaning Process
To ensure personal safety while using the self-cleaning feature on your Viking oven‚ always keep the oven door closed during the cycle‚ as it locks automatically to prevent burns; Avoid touching the oven surfaces‚ as they become extremely hot․ Proper ventilation is essential to prevent inhaling fumes from burned food residue․ Open windows or use an exhaust fan to maintain airflow․ Never leave the oven unattended during the cleaning cycle‚ and keep children and pets away․ After the cycle‚ allow the oven to cool completely before opening the door or cleaning manually․ Always unplug the appliance before performing any manual cleaning tasks․ Use protective gloves and eyewear when handling hot or sharp components․
Protecting Your Oven and Surroundings
To protect your Viking oven and its surroundings during the self-cleaning process‚ ensure the area around the oven is clear of flammable materials․ Always unplug the appliance before manual cleaning to prevent electrical hazards․ Remove all racks‚ utensils‚ and accessories to avoid warping or damage․ Use a heat-resistant mat or tray under the oven door to catch ash and debris․ Keep surrounding surfaces covered with protective sheets or towels to prevent damage from cleaning residue․ Avoid using abrasive cleaners or harsh chemicals‚ as they can harm the oven’s finish․ Regularly inspect and clean venting systems to maintain proper airflow and prevent fume buildup․ Follow the manufacturer’s guidelines for installation and maintenance to ensure optimal performance and safety․
Maintenance Tips for Optimal Performance
Regularly clean racks and surfaces‚ check for food residue‚ and ensure proper ventilation․ Avoid harsh chemicals and follow manufacturer guidelines to maintain your Viking oven’s performance and longevity․
Regular Cleaning Tasks to Enhance Self-Cleaning Efficiency
For optimal performance‚ remove oven racks and utensils before the self-cleaning cycle․ Wipe down surfaces with a damp cloth after each use to prevent grime buildup․ Place water in the broiler pan to help soften tough stains during the cycle․ Avoid using abrasive cleaners or scrubbers‚ as they can damage the oven’s finish․ After cleaning‚ ensure the oven door seal is clean and free of debris․ Regularly inspect and clean the exterior to maintain its appearance․ These tasks ensure your Viking oven operates efficiently and extends the lifespan of its self-cleaning feature․
Deep Cleaning Methods for Tough Stains and Grime
For stubborn stains‚ run the self-cleaning cycle with water in the broiler pan to create steam‚ loosening tough grime․ Avoid harsh chemicals or abrasive scrubbers‚ as they can damage the finish․ Instead‚ use a soft brush or damp cloth to gently remove residue after the cycle․ For manual deep cleaning‚ mix baking soda and water to form a paste‚ apply it to stained areas‚ and let it sit overnight․ Wipe clean with a damp cloth․ Always refer to your Viking oven’s manual for specific deep cleaning recommendations to avoid damage and ensure optimal performance․
Optimizing the Self-Cleaning Feature
Use water in the broiler pan during the cleaning cycle to create steam‚ loosening tough grime․ Avoid harsh chemicals to maintain your oven’s finish and functionality․
Best Practices for Effective Self-Cleaning

For optimal results‚ remove racks and utensils before starting the self-cleaning cycle․ Place water in the broiler pan to create steam‚ which helps loosen grime․ Avoid using abrasive cleaners or scrubbers‚ as they may damage the oven’s finish․ Always ensure the oven is completely cool before wiping down surfaces․ Regular light cleaning after meals can prevent heavy buildup and improve the efficiency of the self-cleaning feature․ Avoid using the oven for cleaning other parts‚ as this could cause damage․ Check for error codes and address them promptly to ensure smooth operation․ Follow the manufacturer’s guidelines for cycle duration and temperature settings to maintain performance and safety․
Advanced Techniques for a Spotless Oven
For a spotless finish‚ combine the self-cleaning cycle with steam by placing water and white vinegar or baking soda inside the oven․ This enhances grime breakdown and reduces harsh odors․ After the cycle‚ use a damp cloth to wipe away ash‚ ensuring a streak-free surface․ For tough stains‚ let the oven cool slightly‚ then scrub with a gentle‚ non-abrasive scrubber․ Avoid overlapping cycles‚ as this can strain the heating elements․ Always run a short cleaning cycle after heavy use to prevent grime buildup․ For extra shine‚ polish exterior surfaces with a stainless steel cleaner․ These techniques ensure your Viking oven remains pristine and functions optimally over time․
Leave a Reply
You must be logged in to post a comment.